Enabling the customer portal
The customer portal allows customers to self-manage their subscription status. Enable the portal to generate a link you can share with customers or add to your website to integrate ProsperStack without writing any code.
How it works
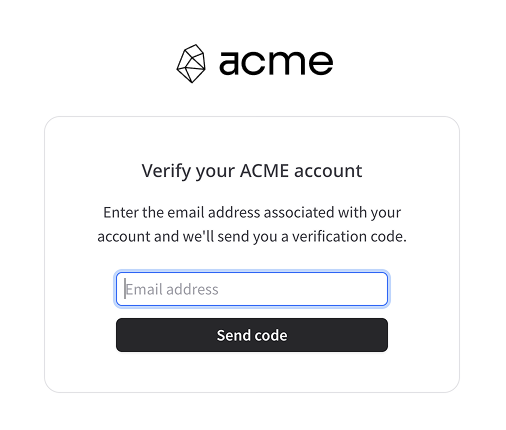
When a customer visits your ProsperStack customer portal, they'll be asked to enter their email address. ProsperStack will send the customer an email with a code in order to verify access to the account. Once the customer confirms the verification code, they can proceed to manage their subscription status.
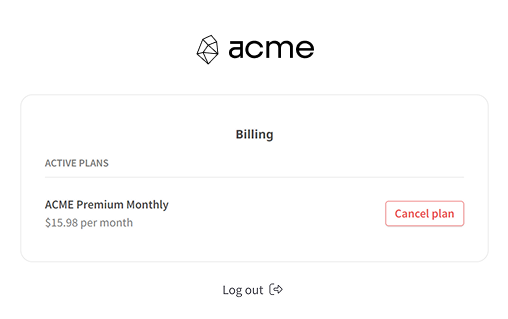
Because the customer portal uses the customer's email address to verify their account, it's required that you're storing accurate email addresses in the customer records of your connected subscription platform.
Enable the portal
The customer portal is available only for supported connected subscription platforms. If you use Chargebee, configure the required publishable key in the Chargebee integration settings before enabling the portal.
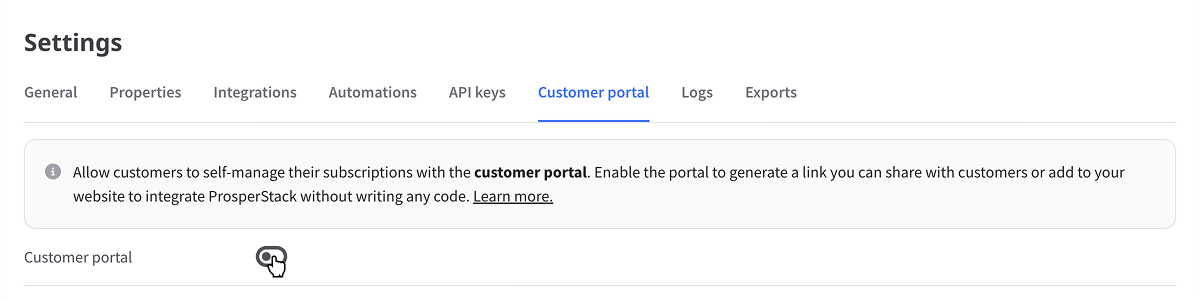
To access customer portal settings, click the gear icon in the main header and then click the Customer portal tab.
Click the toggle switch to enable the customer portal.
Once the portal is enabled, you can copy the portal URL to share with customers or link from your website.

Portal settings
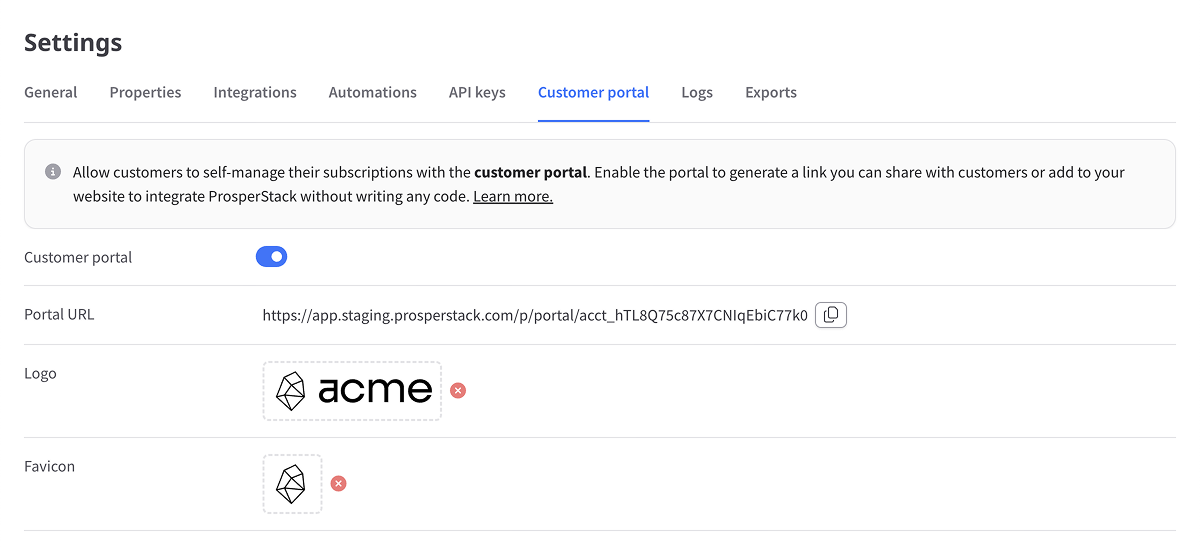
- Logo — Upload an image to use as the portal logo. If no portal logo is uploaded, the portal uses the logo from your default cancellation flow.
- Favicon — Upload an image to use as the portal's favicon.
Drop an image onto either field or click the upload area to select a file. To replace an existing logo or favicon, drop or select another image in its field.