Starting a session
Typically, cancellation sessions will be launched from your application or service by integrating ProsperStack for a seamless customer offboarding experience. If you'd like to test a cancellation flow or begin a cancellation session on behalf of a customer, you can also launch a cancellation session manually from the ProsperStack dashboard.
To launch a session from the dashboard, navigate to the Sessions view and click the Start session button at the top of the screen.

Using a subscription platform integration
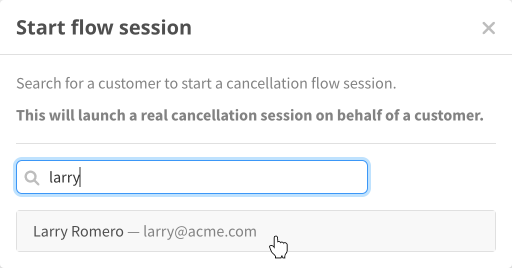
If you're using one of the supported subscription platform integrations, begin by searching for a customer by name, email address or an ID from your subscription platform.

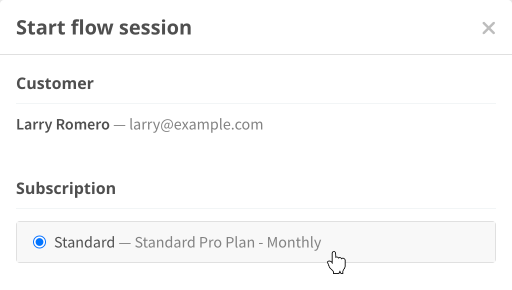
Select a customer from the search results and choose the customer's subscription to begin a cancellation session for.

Using a custom billing integration
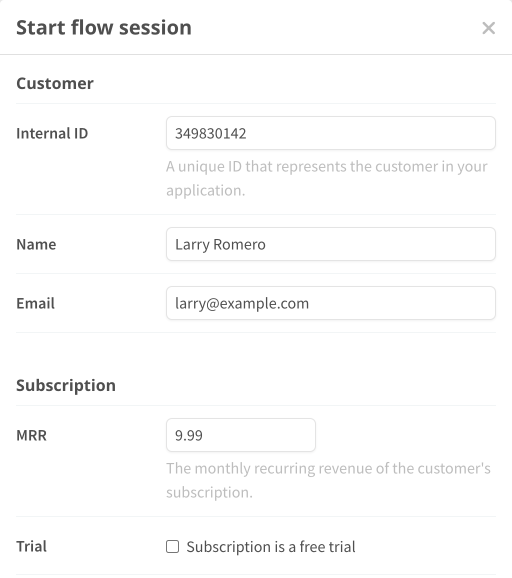
If you're using a custom billing integration, enter the customer's unique ID, name and email address. You can also specify the MRR and trial status of the subscription.

Other options
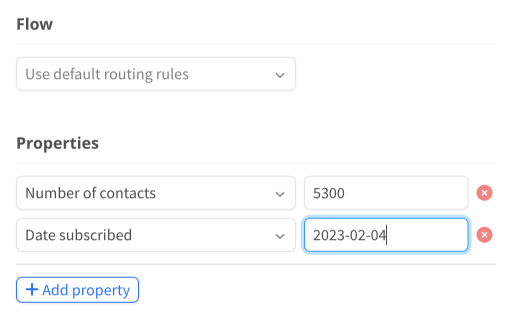
If you have multiple flows, you can select a specific flow to use for the cancellation session, or use your default flow routing rules.
You can also enter custom property values to use for the session.

Starting the session
After you've finalized your customer and subscription details, click Start session at the bottom of the dialog to begin the cancellation session. Note that this will begin a real cancellation session on behalf of your customer. This can affect your live subscription data, including processing cancellations or applying offers.