Multiple flows
Prosper planEnterprise plan
If you have multiple products or different segments of customers that require a unique cancellation flow, you can create multiple flows in ProsperStack to offer customized cancellation experiences tailored to specific customers.
Creating a new flow
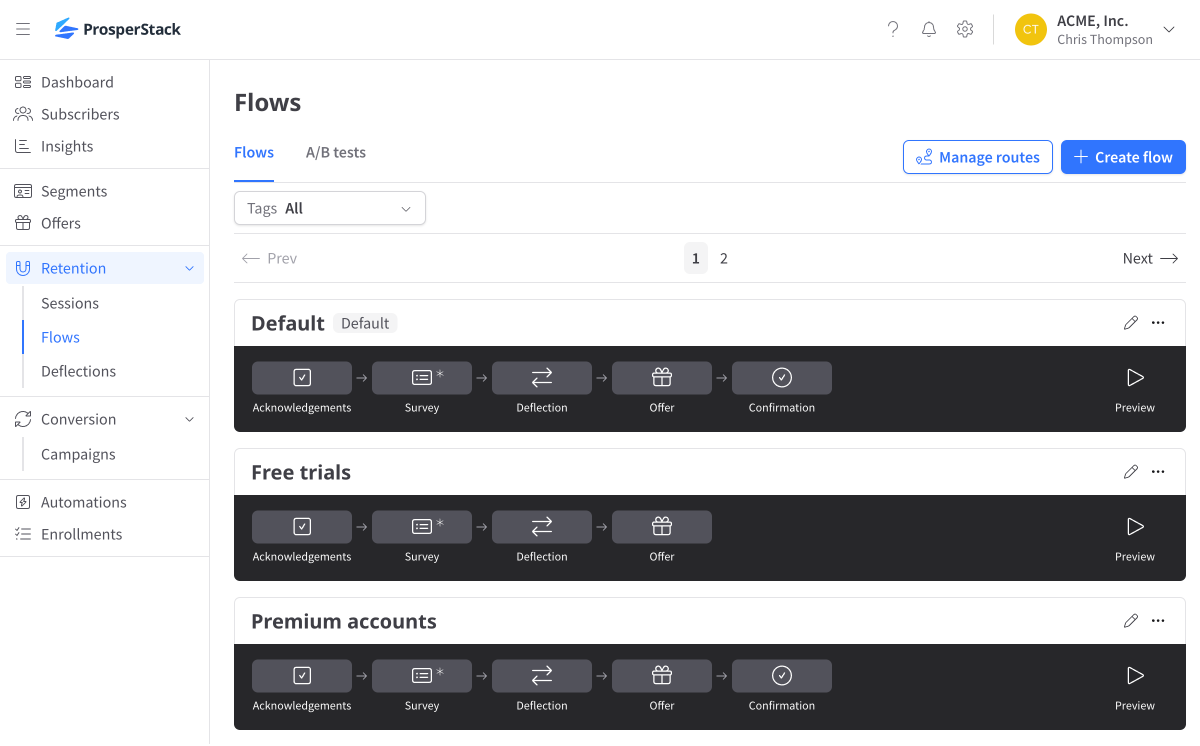
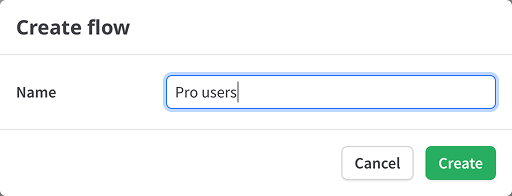
To create a new cancellation flow, navigate to the Flows screen and click the Create flow button. Enter a unique Name, then click Create.
Duplicating an existing flow
On the Flows screen, find the flow you want to duplicate and click the ellipsis menu, then choose Duplicate flow.

Give it a name and click Duplicate.
Routing customers to a flow
When you have multiple flows, you can route customers to a flow based on customer segments.
To manage flow routing rules, click the Manage routes button in the Flows screen.
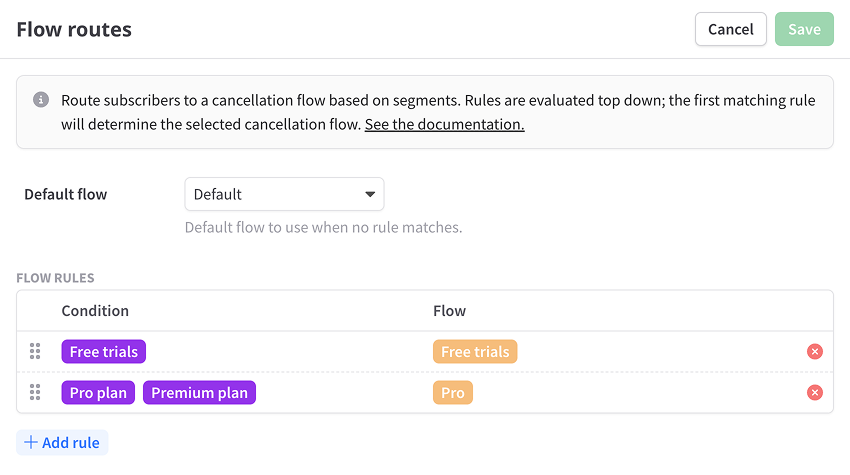
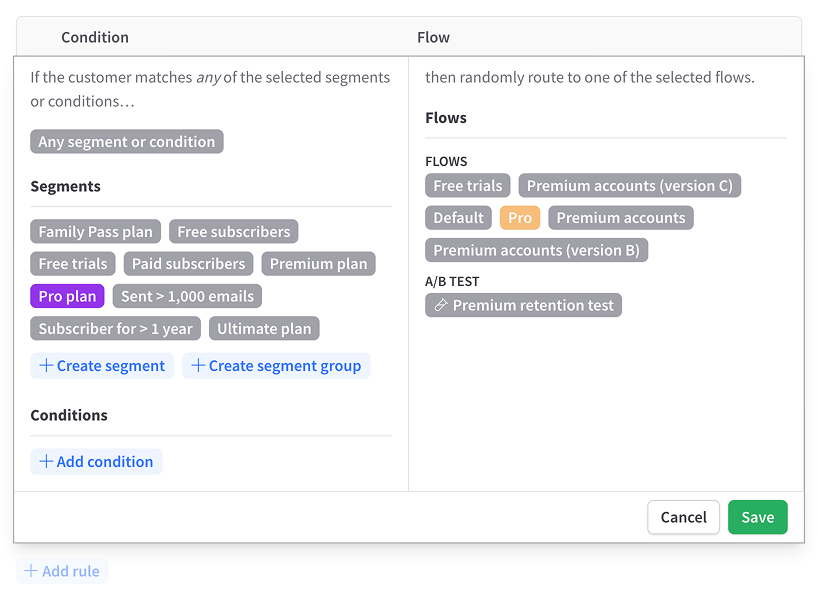
Click Add rule to start a new rule or click into an existing rule to enter editing mode.
Understanding rules
A flow route rule consists of two parts:
- Condition — Select segments, segment groups or inline conditions.
- Flow — Select one or more cancellation flows, or select a flow A/B test.
A rule defines which flows to route a customer to based on segments. If a customer exists in any of the specified segments, the customer matches the rule, and will be routed to one of the rule's flows.

In the example above, any customers in the segment "Free trials" would be routed to the "Free trials" cancellation flow.
When a rule has multiple flows, one is chosen randomly to route the customer to.
Rule evaluation
Rules are evaluated from the top down. When a customer matches a rule, rule evaluation stops and no more rules are evaluated.
For example, in the example below, if the customer matches the first rule, they will be routed to the "Free trials" cancellation flow. The remaining rule will not be considered.
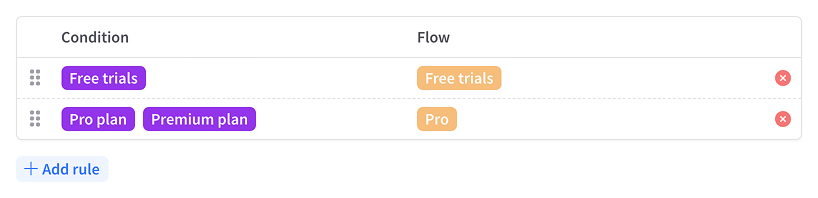
Drag rules to change the order. Rule edits and reordering are staged until you save the overall routing configuration.
Default flow
If no route rule is matched by a canceling customer (or you have not configured any route rules), the default cancellation flow will be used. You can change your default cancellation flow using the Default flow dropdown.

Saving route changes
When you save changes to your flow routing configuration, the changes will take effect immediately. Use test mode to try out changes to your flow without affecting your live cancellation experience.
Displaying a message when cancellation is prohibited
It's not unusual to have cases where users should be prevented from cancellation. Use custom "eligibility messages" in ProsperStack to define these cases.
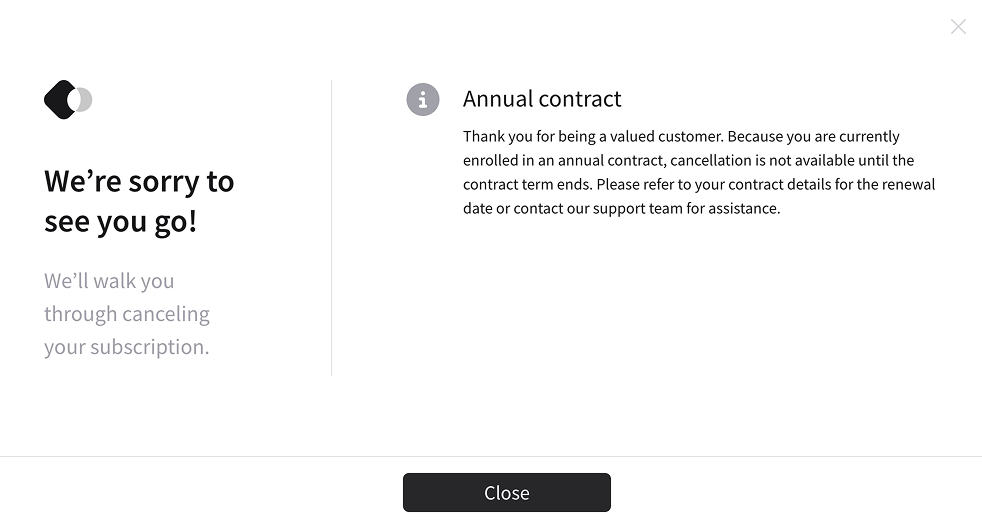
Eligibility messages are configured with flow routing. Click the Manage routes button on the Flows screen to access.
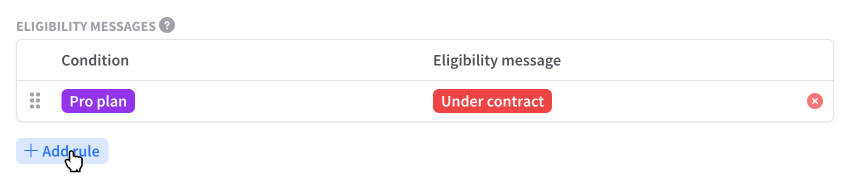
Click Add rule to start a new eligibility message rule or click into an existing rule to enter editing mode.
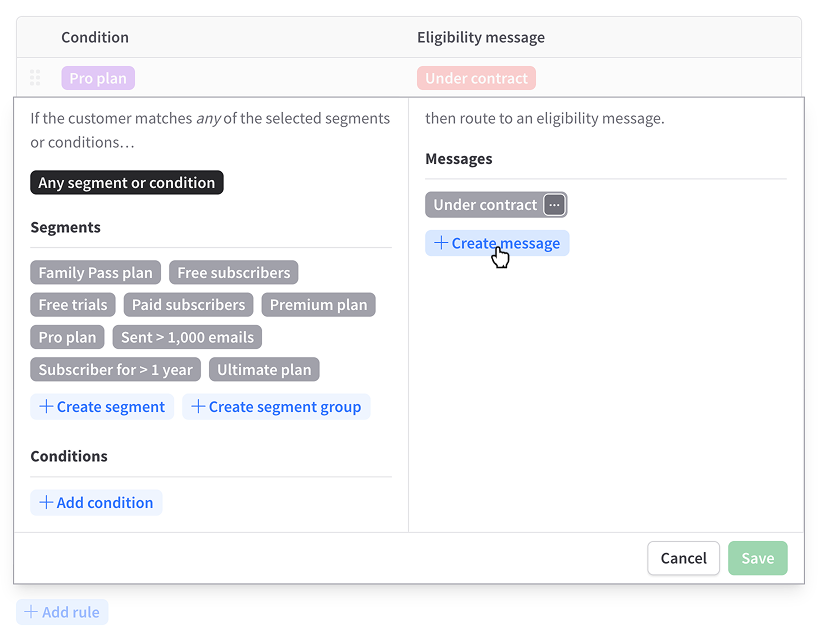
Like flow routes, eligibility messages are configured as a set of rules. Each rule consists of two parts: segments and messages.
Rules are evaluated from top down. If a customer matches any of the specified segments, the customer will be displayed the associated eligibility message and prevented from accessing cancellation.
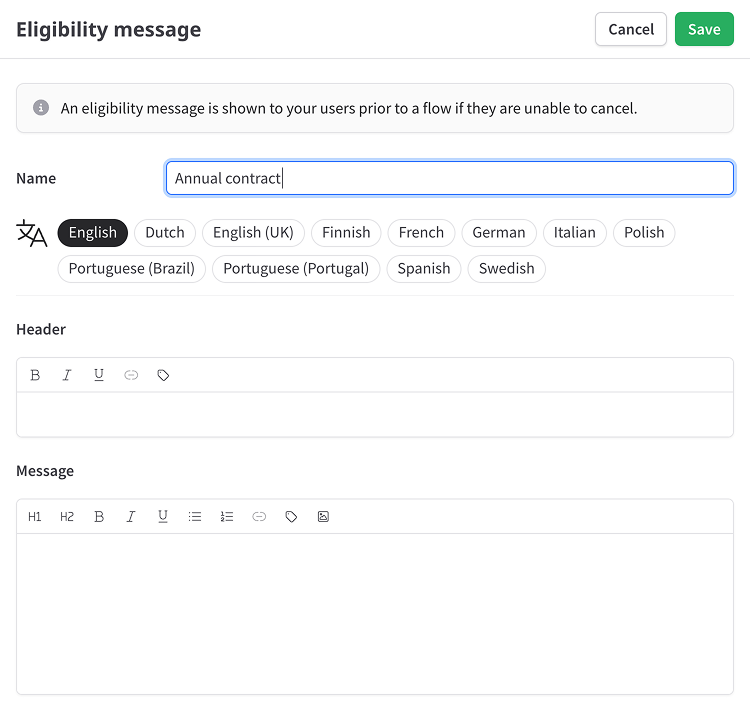
Reuse an existing message or click Create message to set up new message copy. Enter a required Name, then configure the subscriber-facing Header and rich-text Message. Click Save to return to the rule.
To update an existing message, use its edit action, change the fields and click Save. Select the message as the rule destination and save the rule, then save the overall routing configuration as described above.