Creating a conversion campaign
Conversion campaigns control the rules and criteria for displaying offers to your customers. Use customer segments for precise control of targeting to optimize conversion rates.
To create a campaign, click Campaigns in the left navigation in the Conversion section and then click Create campaign.
To edit an existing campaign, click its name in the campaign list. After creating or editing a campaign, click Save at the top of the panel.
Basic campaign details
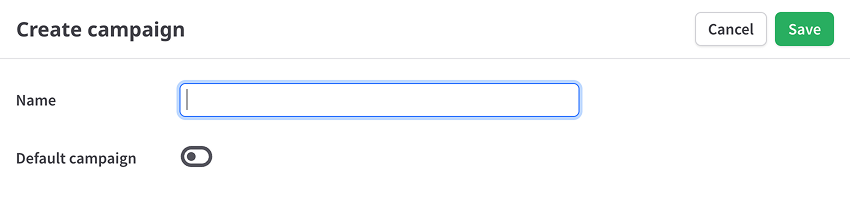
Each campaign needs a unique name. Campaigns can be designated as the default, meaning a subscriber will fall into that campaign if no other campaign is specified when initializing conversion in your application or website.
Offer rules for a campaign
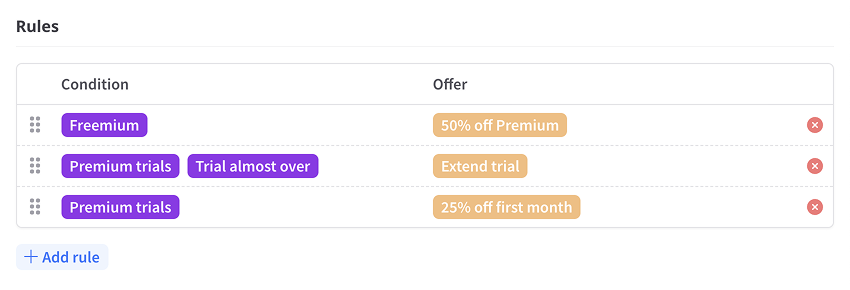
Campaigns include specific rules that determine which conversion offer is shown to the user when the campaign is triggered. Learn more about offer rules.
Other options
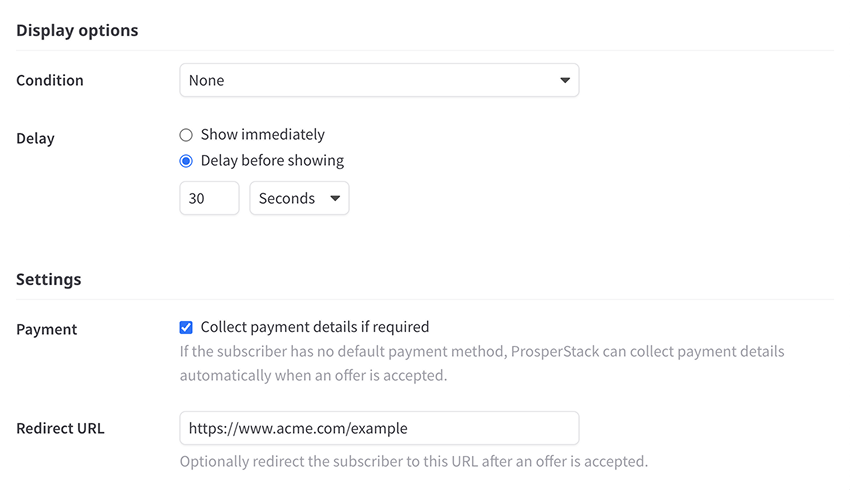
Display options
- Condition — The display condition for the campaign:
- None — Display offers immediately.
- When triggered manually — Display offers only when triggered manually. Read more about triggering manual campaigns.
- Delay — Choose Show immediately or Delay before showing. For a delay, enter a numeric duration and choose Seconds or Minutes.
Settings
- Collect payment details — If the subscriber has no default payment method, ProsperStack can collect payment details automatically when an offer is accepted.
- Redirect URL — Optionally route customers to a URL after they accept an offer.