Intercom integration
Prosper planEnterprise plan
Two-way sync with Intercom
The Intercom integration connects with your Intercom account to link contact data with subscriber custom properties in ProsperStack. Use custom properties in segments to enable targeted offers, conditional cancellation flow steps and segmented reporting. Learn more about custom properties.
The Intercom integration also allows you to store cancellation survey responses in your Intercom account in custom contact data attributes.
Connecting your Intercom account
Navigate to the Intercom integration page by clicking Settings in the left navigation, then Integrations. Click Configure in the Intercom section.

Click Connect Intercom to begin the connection process. You'll be redirected to grant ProsperStack access to your Intercom account.
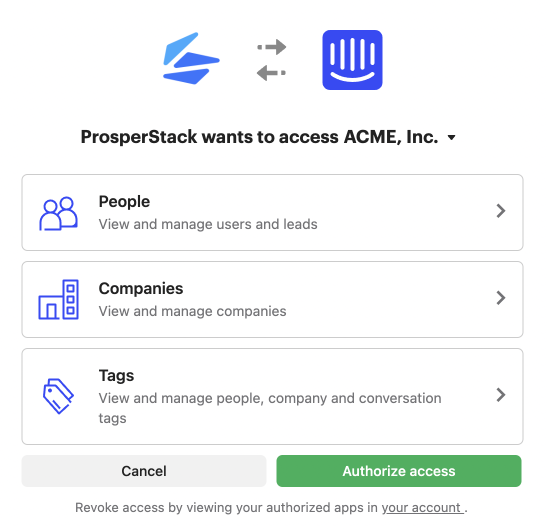
ProsperStack will request access to view and manage your contact data in order for the integration to work. Click Authorize access to proceed.
Once your account is connected, you can map Intercom data attributes to custom properties in ProsperStack and choose where to store cancellation survey answers.
Mapping properties
In the Property mappings section, you can select Intercom contact data attributes to map to ProsperStack subscriber custom properties.
Select a data attribute from your Intercom account from the dropdown on the left, then choose a corresponding custom property in ProsperStack (or create a new one) to store the data.
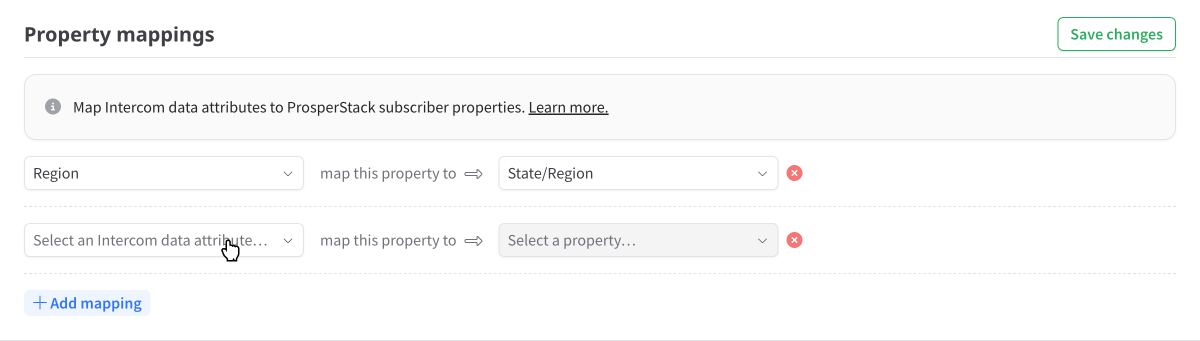
The custom property in ProsperStack must be of the same data type as the Intercom data attribute to create a mapping. For example, an integer data attribute in Intercom must be mapped to a number custom property in ProsperStack.
Click the + button to add another mapping. You can add as many mappings as you need.
Once you've configured your property mappings, click Save changes. ProsperStack will begin collecting your Intercom contact data and will keep it in sync over time.
Sending data to Intercom
In the Question mappings section, you can select survey questions to map to Intercom custom data attributes. When a subscriber answers a survey question in your cancellation flow, ProsperStack will send the data to Intercom and store the answer in the selected data attribute.
Select a question from your available cancellation survey questions using the dropdown on the left, then choose an Intercom data attribute that will store the answer data.
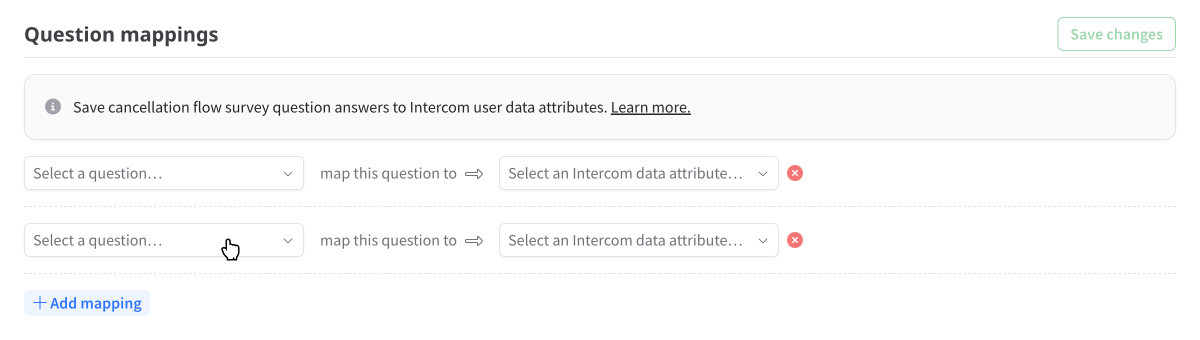
When storing the answer to a multiple choice survey question in Intercom, ProsperStack will use the option's reason code if configured. If no reason code is configured, the full text of the multiple choice option will be stored.
Matching Intercom contacts
Intercom contacts are matched with subscribers in ProsperStack by email address. For your Intercom data attributes to be correctly mapped to subscribers in ProsperStack, make sure that customers in your connected subscription platform have a valid email address that matches with a corresponding contact in Intercom.
View subscribers in Intercom
Once the Intercom integration is connected, ProsperStack subscribers that are matched with contacts in your Intercom account will be linked so you can refer back to them in Intercom.

When viewing a subscriber in ProsperStack, click the View in Intercom link to open a new browser window to the contact in your Intercom account.