Creating an automation
Automations are highly flexible sequences that allow you to trigger automated communications, targeted and personalized with advanced customer segmentation.
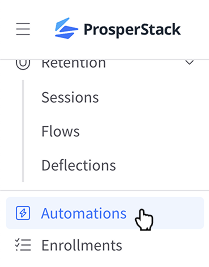
To create an automation, click Automations in the left navigation and then click Create an automation.
Give the automation a unique name and click Create.
Trigger
An automation runs when a specified subscription event occurs, called a trigger.
When the trigger event occurs for a particular subscription, the associated subscriber is enrolled in the automation and moves through the steps until it reaches the end.
When you create an automation, you are prompted to choose the enrollment event trigger. You can change it later, but not after the automation has been published.
Trigger types
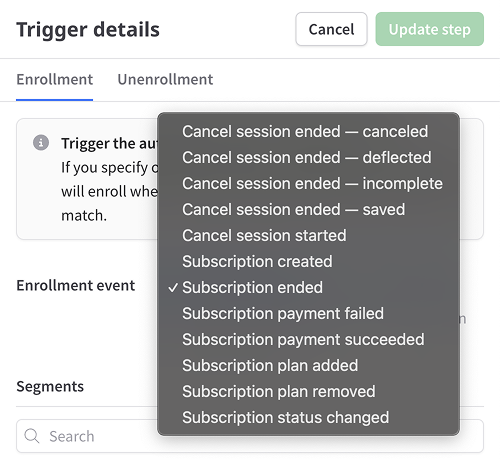
Choose from the following enrollment events:
- Cancel session started
- Cancel session ended — canceled
- Cancel session ended — deflected
- Cancel session ended — incomplete
- Cancel session ended — saved
- Subscription created
- Subscription ended
- Subscription plan added
- Subscription plan removed
- Subscription status changed
- Subscription payment failed
- Subscription payment succeeded
A cancellation session represents the journey a customer takes through a ProsperStack cancellation flow. Each session has one of four outcomes: saved, canceled, deflected or incomplete. Learn more about session statuses.
The Subscription payment failed and Subscription payment succeeded events are available only when your connected subscription platform supports payment triggers.
Note: A cancellation session that ends in cancellation can occur significantly in advance of the related Subscription ended event if it was set to take effect at the end of the billing period.
Enrollment audience
You can optionally limit enrollment to customer segments, segment groups and/or custom conditions.
When you specify an audience, a subscriber enrolls when the event occurs and any of the selected segments or conditions matches.
Choose your enrollment event, optionally configure an audience and then click Update step.
Unenrollment
An unenrollment trigger removes subscribers from an automation when a later event occurs. To configure unenrollment, click the Unenrollment tab in the trigger step and select an Unenrollment event. The same events available for enrollment are available for unenrollment.
You can optionally define an unenrollment audience. If you do so, a subscriber is unenrolled when the selected event occurs and any of the selected segments or conditions matches.
Leave Unenrollment event blank if the automation should not use an unenrollment trigger. Click Update step after making changes.
Automation editor
The automation editor displays the sequence of steps that make up an automation.
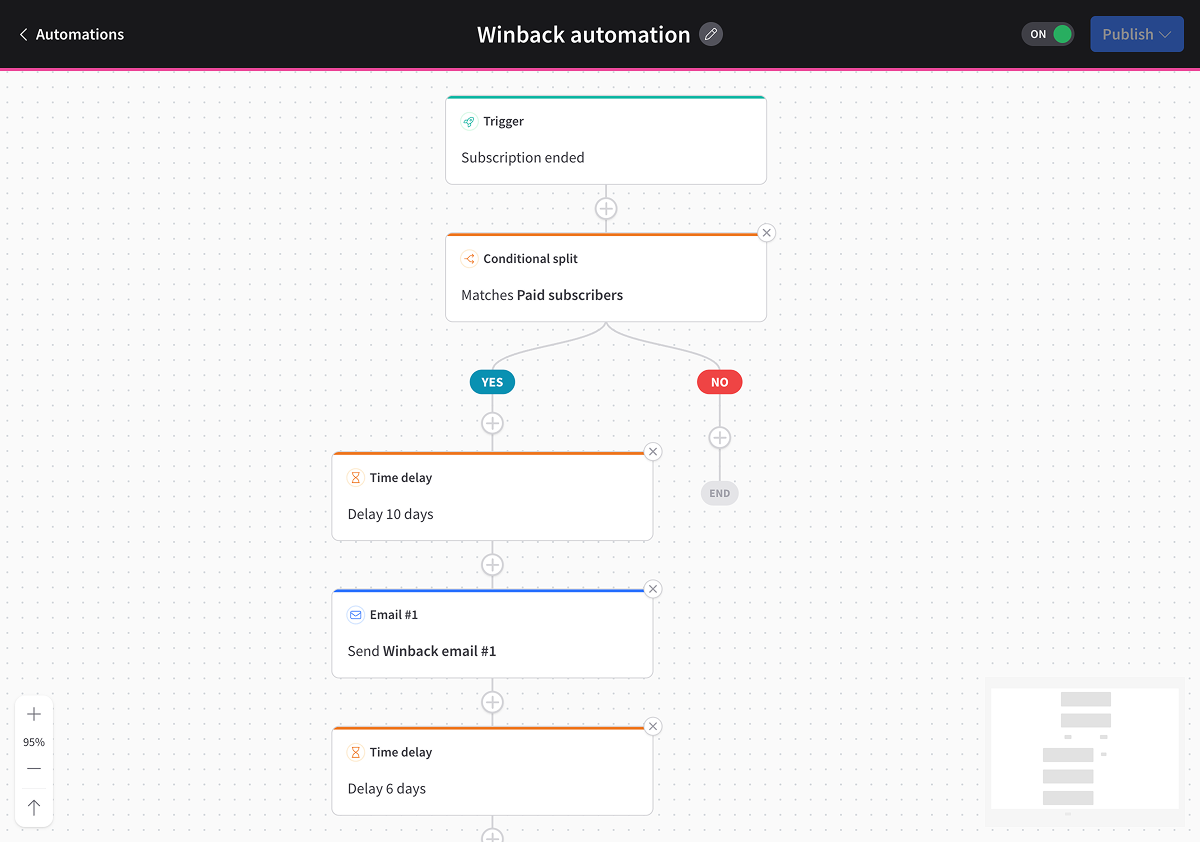
From the editor you can add, edit and remove steps.
Click a step to edit its properties. Click the + between steps to add a step.
Step types
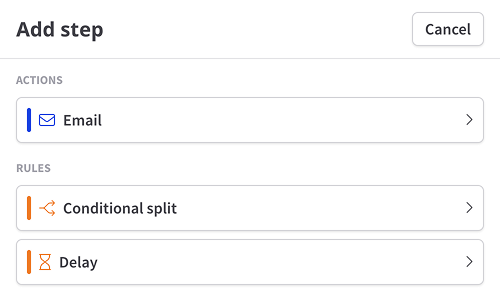
When creating a step, you'll first choose a type. Step types include Email, Delay and Conditional split.
Email
The Email step type sends automated emails to enrolled subscribers.
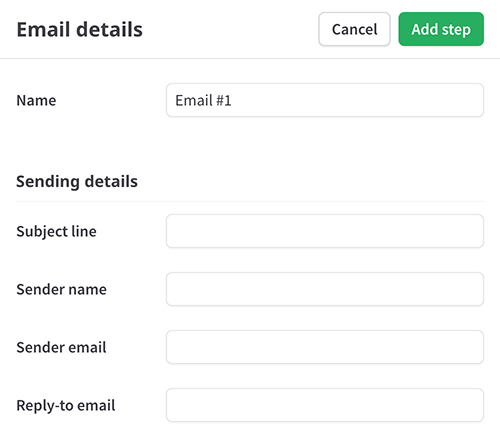
Name - Identify the email step for internal reference.
Subject line - The subject of the email.
Sender name - Sender name.
Sender email - Sender email address.
Reply-to email - Optional reply-to email address.
You can set defaults for sender and reply-to settings.
Email library
The main body of the email is available in the email library. Select an email from the library or create a new email.
Conditional split
The Conditional split step type routes subscribers to different steps based on conditions you specify. It can also be used to filter out subscribers.
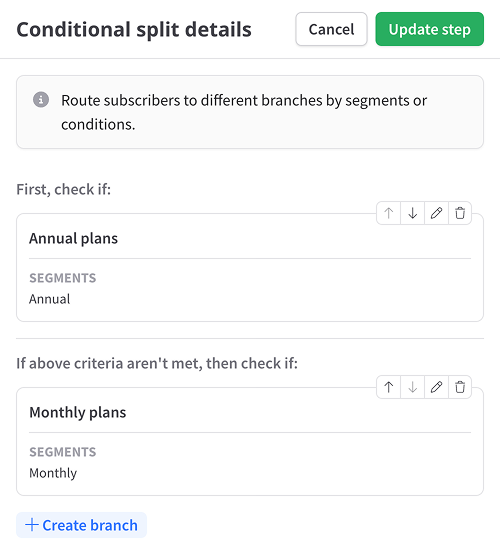
This step is composed of one or more branches. You can reorder, edit and delete branches from this screen.
Branch evaluation
Branches are evaluated from the top down. When a customer matches a branch, evaluation stops and no more conditions are evaluated. If the customer doesn't match a branch, the automation ends.
Adding a branch
When you create a new Conditional split step, you're taken immediately to the add branch screen. Additional branches can be added by clicking the Create branch button at the bottom of the step panel.
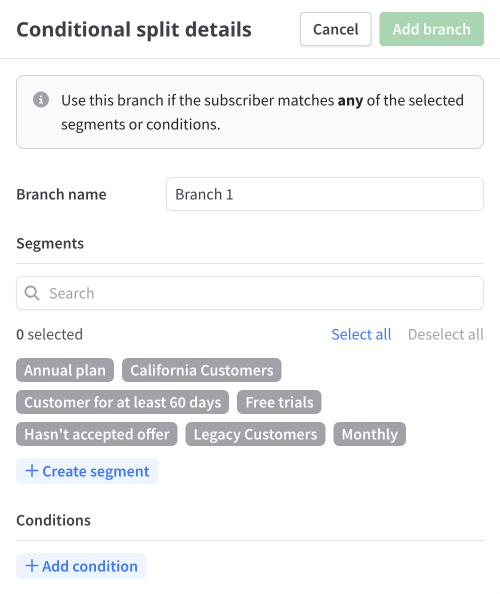
Give the branch a name and select/add customer segments, segment groups and/or custom conditions.
Delay
The Delay step type defers moving the enrolled customer to the next step for a specified amount of time.
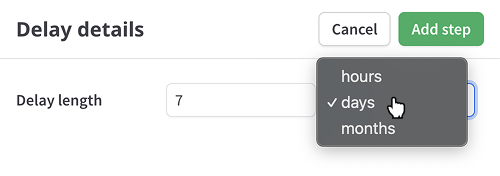
Enter a number for Delay length, then select hours, days or months. A delay can be no longer than one year.
Click Add step when creating the delay or Update step when editing it.
Publishing an automation
When you make changes to your automation, a draft version is created. You can make as many changes as you need without affecting the live automation.
When you have unpublished changes, you'll see an orange indicator by the Publish button at the top right of the automation editor screen.
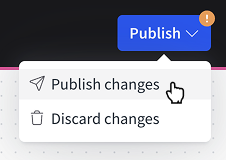
Once you're happy with your changes, you can publish the automation. Click the Publish button at the top right of the automation editor screen and then click Publish changes in the menu.
When you publish an automation for the first time, any subscription that triggers the automation will be enrolled. A subscription can only be enrolled in an automation once. An enrollment cannot be removed manually after it has entered the automation.
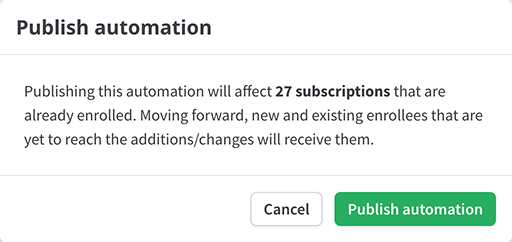
When updating an existing automation, the changes will additionally apply to existing enrollees for all pending steps.
Discarding changes
If you choose not to publish changes, you may discard them. Click the Publish button at the top right of the flow editor screen and then click Discard changes in the menu.
Enabling and disabling an automation
Published automations can be switched on or off by clicking the toggle to the left of the Publish button.

When you disable an automation, new enrollments will cease and current enrollments are aborted.